
Cron Jobs Overview
The CSV / XML importer allows you to rapidly populate your IProperty system using a standard text-based comma separated values (csv) or xml files. These files can be created in a variety of ways, using spreadsheet software like Excel or Open Office Spreadsheet, or by exporting data from phpmyadmin as csv.
Before We Begin…
Before beginning, please read this page carefully and note a few things:
-
The import file and all data in it must be in proper UTF-8 format. If you have a UTF-8 file, but non-UTF-8 characters in it, you may encounter problems. Please consult the documentation of your preferred spreadsheet/database tool to learn how to ensure your file is valid UTF-8. A standard csv file uses commas to separate columns, and double-quotes (“) to designate text strings. Properly escape any double-quotes that appear within text blocks, or you may encounter problems. Other characters that can cause problems include EOL (end of line) characters, often known as “returns”. If you have hard-returns in your description field, for example, you may break the import routine. It’s best to replace hard returns with HTML <p> or
tags. For XML files, please validate your XML using an XML validator like https://www.xmlvalidation.com/. -
Before importing your data, you must have Intellectual Property installed and some basic configuration done. If you use a custom list of amenities in the import file, IProperty will attempt to match the amenity from the feed with a corresponding amenity in the IProperty tables.
-
Ensure that property existing categories in IProperty match import file. You must ensure that the name of the property type matches the category within IProperty exactly. For example, if your IProperty category is “High Rise Apartments”, then that must be exactly what appears in the import file.
-
The importer will perform geocoding if no valid latitude/longitude is supplied. However, the Google geocoder has limits on the number of locations it will provide in a day, and in some cases may disqualify you for submitting too fast (if you perform the import on a very robust machine, it’s unlikely, but possible this may happen). If you encounter this problem, simply uncomment the “sleep” line in the doGeocode function of the
/administrator/components/com_iproperty/classes/importBase.phpfile. -
The importer can handle both remotely-hosted and locally hosted property image files. If you choose to use remote image files, you must supply the full path as the “fname” column of the image – eg.
http://myimageserver.com/image1.jpg. You must also set the “remote” column = 1.-
If the images are to be locally hosted, you must upload them to your Joomla site manually using an FTP program.
-
Take note of the folder where you upload them to– it can be any folder within the Joomla root, or you can create a new one (also within the Joomla root). You will supply this path from the Joomla root as the Image Path parameter in the CSV / XML Import Details field.
- When the importer is run in debug mode, the original images you uploaded will NOT be deleted after they are resized and moved into the appropriate IProperty image folder. Be aware that if you run non-debug mode, THE ORIGINAL IMAGES WILL BE DELETED AFTER RESIZE – so keep your “real” originals safe and upload only copies!
-
Note: The default import sample has slots for up to 20 images– if you require more, just add as many as you need, making sure to increment the third parameter in the column– eg. iproperty_images|title|N, iproperty_images|description|N, iproperty_images|fname|N, iproperty_images|remote|N
-
-
Agent and company photos/logos can only be handled as local files. There is no way to link to remote images for these items currently. These must be uploaded to the same directory as your temporary property images prior to import. These images will also be deleted when you import in non-debug mode!
-
A word on debug mode: if you choose to run in debug mode (recommended for the initial/testing import) IProperty will write a log file to the Joomla logs directory. As mentioned above, in debug mode the original images will not be deleted after resize. In non-debug mode, the original images WILL be deleted after they are resized.
-
There are several ID columns per row of the import csv file. You must supply an ID for each agent, each company and each property. In most cases this will simply be the default “key” for the object in your database. It can be as simple as a sequential digit (1,2,3,4) per agent/company/listing, or it can be a unique ID from your system (eg. an MLS ID). The important thing is that this ID is unique within the csv file for that particular object.
-
For example: If John Smith’s agent ID is 1, and he works for a company called “Smith Realty” with a company ID of 5, all listings handled by John Smith must show his agent id as “1” and all listings handled by Smith Realty must have a company ID of 5.
-
Otherwise you’ll end up with multiple John Smiths and multiple Smith Realties, a new row for each different property handled by these entities. These unique IDs will NOT be used inside the IProperty system– the listings, agents and companies will be assigned new IDs based on the current auto-increment value of the table that they are imported into. However, the ID value that you supply for an agent, company or listing will be saved by IP, so that on subsequent uploads you can update the information for a listing, agent or company that already exists in the IP system.
-
You MUST use the same unique ID that you used for the listing, agent or company in the initial import in all subsequent imports however, or else the update will not be possible and a new row will be written or the wrong item will be updated.
-
Additionally, you must provide ALL information for an update– eg. you cannot simply provide the company ID and the new phone number, or else all other fields (address, website, etc.) will be overwritten with NULL.
-
Creating an Import File
So you’ve created all your required amenities within IProperty, you’ve added your categories to IProperty, taking care to match the names of the category with the names in your csv file. You’re ready to begin.
Before you can import anything, you need to create an import file with your data. Use the sample data file included in your site’s media/com_iproperty/ directory to see how the data should appear. How you create this file is up to you. We find that exporting data tables to csv from phpmyadmin, then using a UTF-8 compatible spreadsheet tool like Open Office to copy and paste the data into the appropriate columns works well. In some cases there may be no way to get your data all in the same place except through manual data entry into a spreadsheet. Now save your custom import file back into your site’s media/com_iproperty folder.
Importing Your Custom File
This is a pretty straightforward panel. There are only a few options:
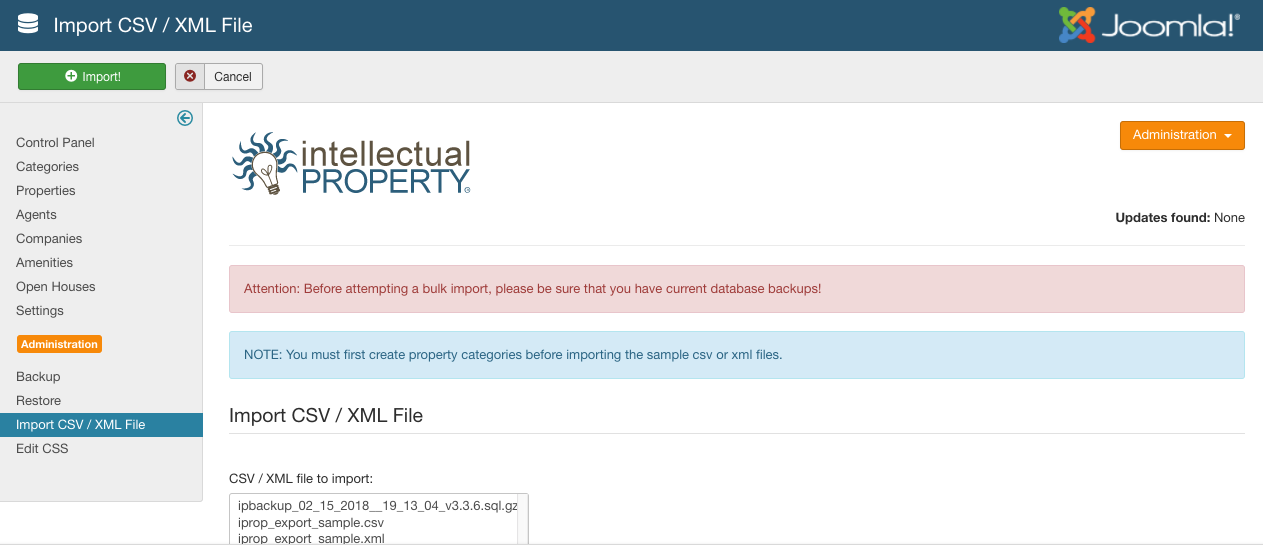
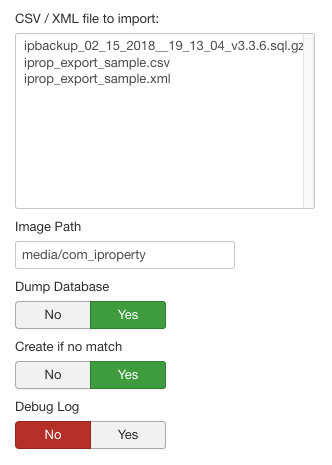
- CSV / XML File to import: This will be a list of available csv and xml files in the
media/com_iproperty/directory - Image Path: The location within the Joomla root where you have uploaded your original images for the agent photos, company icons and property images. These will be resized, moved and then deleted (if not in debug mode).
- Dump Database: Clear the database of all pre-imported agents, companies, images and listings before import? This will ONLY delete objects that were created by earlier imports.
- Create if no match: If you set this to Yes, the import routine will attempt to add amenities and categories from your feed that do not currently exist in IProperty.
- Debug Log: Run in debug mode, writing a log file to the Joomla log location. In non-debug mode, no log file will be written and all original images will be deleted after they are resized.
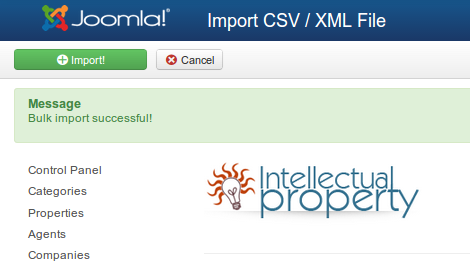
Select your import file from the list, set your options (debug, dump database, image path) and then click on the Import! button in the tool bar. If all goes well, in a short time you should be returned to the Intellectual Property control panel with a message confirming a successful import!
If the import fails, try running the import again in debug mode, then view the log file. You are likely to see where the problem happened.