
Agents Overview
Agents are the people responsible for selling the listings you want to display on your website. Many Intellectual Property users will only need one agent, the site owner. Others will support multiple agents from multiple companies. You may add as many agents as needed.
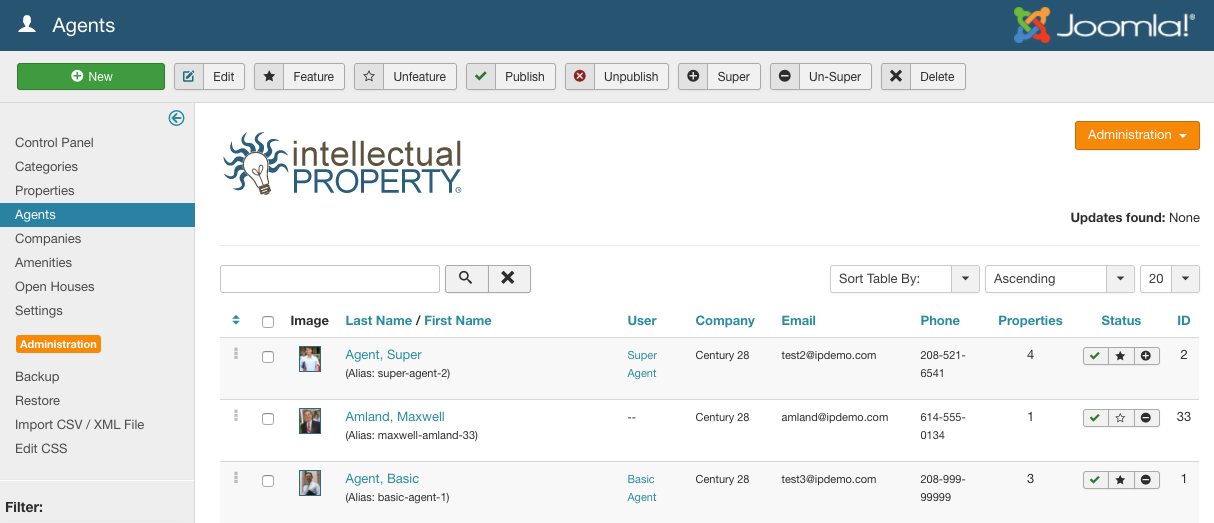
Listings can be assigned to multiple agents. You can upload photos of each agent to personalize the experience. From the Agents panel (Figure A), you can sort and view all agents in the system. You can sort by name, search by keyword (eg. “Joe”), filter by company, or by Published/Unpublished state.
Add an Agent
To add an agent, click the New button in the upper right of the Agents panel. You will open the Add Agent dialogue (Figure B).

Provide the necessary details for the agent. Initially, only a name and company is required. However, it’s best to fill out the form as completely as possible to ensure a good experience for your end users. You can also choose to feature an agent from this dialogue by selecting the appropriate radio button. Click the save button at the top right of the Add panel to save the object, or choose Cancel to exit without saving.
Add an Image
To add a photo for an agent, use the image tab at the top of the agent dialog.
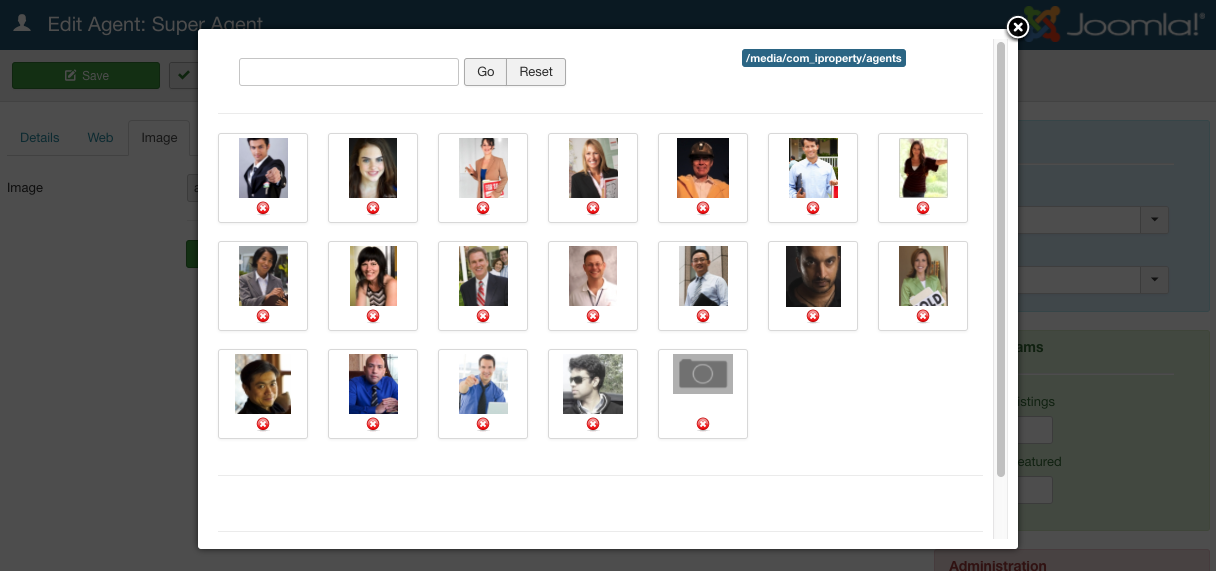
Click on the Upload button to select and upload an icon file from your local machine. GIF, JPG and PNG files are accepted. If you have already uploaded multiple image files, or intend to use the same image file for multiple agents, click on the Select Image button. From this panel you can select the image file you wish to use for the new agent (Figure C).
Edit an Agent
To edit an existing agent, simply click on the name of the agent from the list of agents in the Agent control panel, or select the agent by checking the box to the left of the agent name and click Edit in the top right of the panel. To unpublish a agent, click on the green checkbox to the right of the agent’s name. To delete an agent, select the agent by checking the box to the left of the agent name and select Delete from the options in the upper right of the panel. To feature an agent, click the red X under the Featured column in the Companies panel. To unfeature an agent, click the green checkmark in the Featured column.
Agent Parameters
The agent parameters allow you as the administrator to restrict how many listings and featured listings are allowed for individual agents. The Agent Params include:
- Maximum Listings: total number of Properties allowed to be created by this Agent
- Maximum Featured: maximum number of Properties that can be featured by this Agent
Agent Params will only be available and visible to site admins, and will only be used when the IP ACL option is set.
Admin Parameters
As an administrator, you will also see settings under the ‘Administrator’ area which will allow you to link users from the Joomla users table to individual agents, and more. The administration options include:
- Linked User: this allows you to link an IP Agent to an existing Joomla user. This is required to allow an Agent to edit properties from the Front End of Joomla.
- Super Agent: Super Agents are a sort of “agent admin”. While not a Joomla admin, the Super Agent is allowed to modify his company’s agents and listings, as well as the company’s profile information. The Super Agent doesn’t need to be the actual account owner for the company– it can be simply a trusted user within a company.