Employee Overview
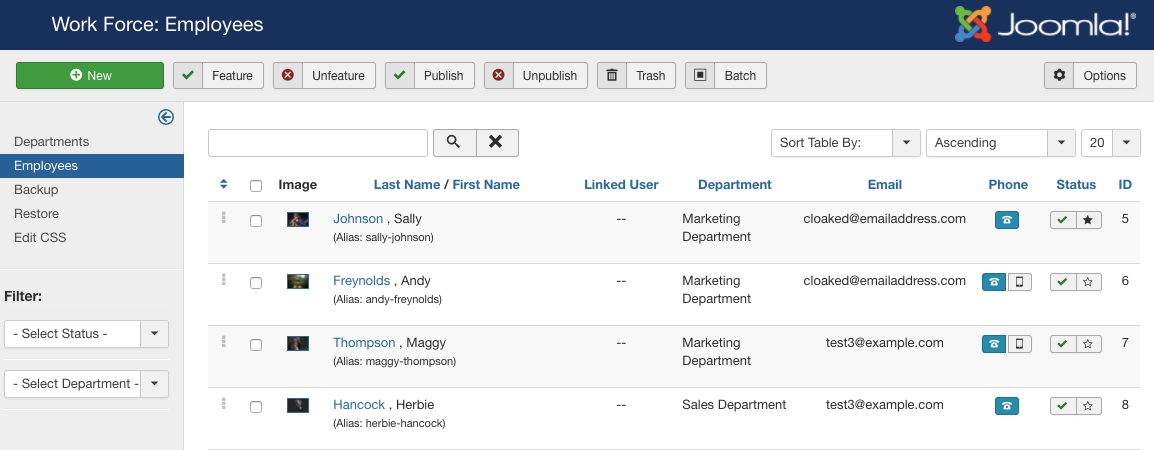
Employees are the most important items of the Work Force extension. The main Employees admin panel is depicted in Figure A. Employees can be filtered on this page by Department, Status, and searching by keyword.
From the main Employees panel, you will see a thumbnail image of each employee, their name and url alias, department, email, phone numbers, and published/featured status. If you have linked a Joomla user to an employee, the linked user and link back to edit the Joomla user will be displayed as well.
Add an Employee

To add an employee, click the New button in the upper toolbar of the Employees panel (Figure A). You will open the Add Employee dialogue (Figure B). The options when adding an employee are as follows:
General Employee Info
- First Name: The first name of the employee
- Last Name: The last name of the employee.
- Alias: The alias field is not required. However, if it is not supplied an alias will be auto-generated for you. Aliases are used by the core Joomla SEF functions to provide URLs to the object. Spaces and special characters are not allowed in alias fields.
- Department: Select the department this employee belongs in
- Position: Enter the employee’s position within the department (optional)
- Email: Optional email address for the employee. If you plan to use the contact forms in the employee profile views, this must be a valid email address or the contact form will fail to do it’s job
- Phone: Optional phone number for the employee
- Ext: The first phone number extension if available
- Phone2: Optional secondary phone for the employee (cell phone, etc)
- Ext2: The secondary phone number extension if available
- Fax: The employee fax number (optional)
- Employee Bio: A description or brief bio of the employee
Address Info
- Street: the street address (Eg. 1234 Main Street Apt. 2E)
- Street 2: the second part of the address, if required
- City: the city name (Eg. 1234 Main Street Apt. 2E Mytown, MyState, USA 99292 would take Mytown as this value)
- State: the state selected from existing states db table. If you don’t use the state field, you may add a province in the next field
- Province: the province name
- Postal Code: the zip or postcode (Eg. 1234 Main Street Apt. 2E Mytown, MyState, USA 99292 would take 99292 as this value)
- Country: Optional country from a drop down of existing countries in the db
- Website: Optional website for the employee
Other
- Status: The published status of the employee
- Featured: Select whether or not to show the employee as ‘featured’
- Linked User: If you would like the employee to be linked to a Joomla user, select the user here
- Image: The employee image - see below for more instructions
- Tags: You can tag employees to make the sorting and filtering easier on the front end
Social
- Twitter: Link to employee’s Twitter page
- Facebook: Link to the employee’s Facebook page
- Youtube: Link to the employee’s Youtube page
- LinkedIn: Link to the employee’s LinkeIn page
- Skype: The employee’s Skype handle/username
Availability
- Availability: This field lets you add multiple availability times - if you roll over the label it displays the following instructions:
You may enter a general availability or specify hours/per day below. You may enter plain text paragraph or separate days and hours with a semicolon (;). For example:
Monday: Noon-3pm;
Tuesday: 4pm-Midnight;
Wednesday: 8am-4pm;
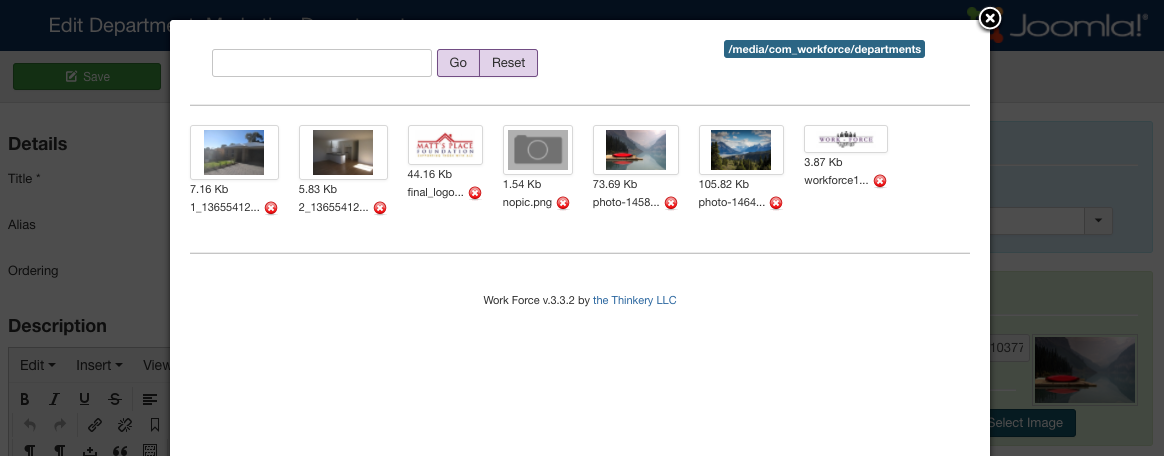
Image
If you choose to add an image, click on the ‘Upload’ button in the sidebar ‘Image’ area which will allow you to upload a new image which will be re-sized to the dimensions you have specified in your Work Force configuration. If you have already uploaded several images, you can also choose to ‘Select Image’ which will open a modal window to choose an existing image (Figure C).