
Testimonial Overview
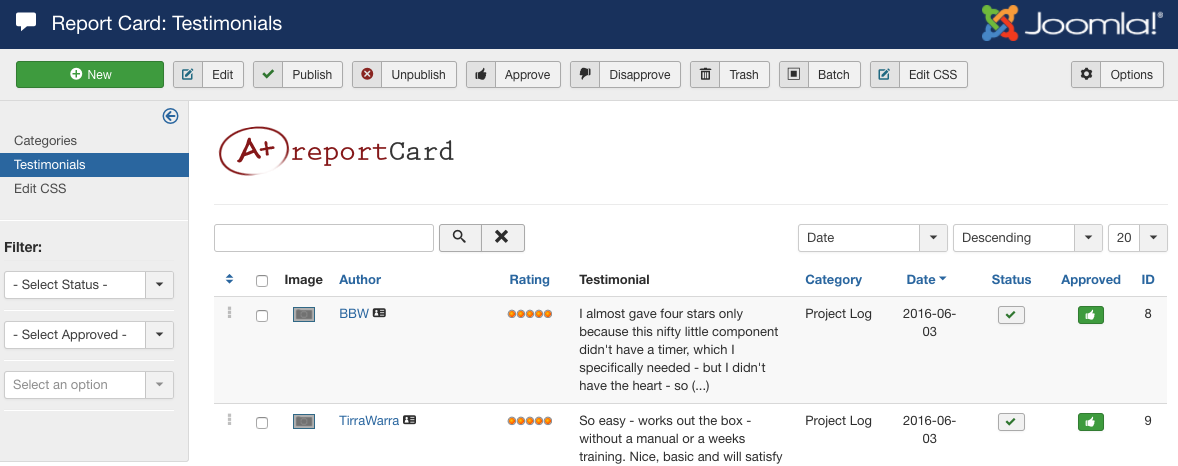
Testimonials are the most important items of the Report Card extension. The main Testimonials admin panel is depicted in Figure A. Testimonials can be filtered on this page by Category, Status, and searching by keyword.
From the main Testimonials panel, you will see a thumbnail image of each testimonial, the author, rating (when enabled), testimonial blurb, category, date, and published/approved status.
Add a Testimonial
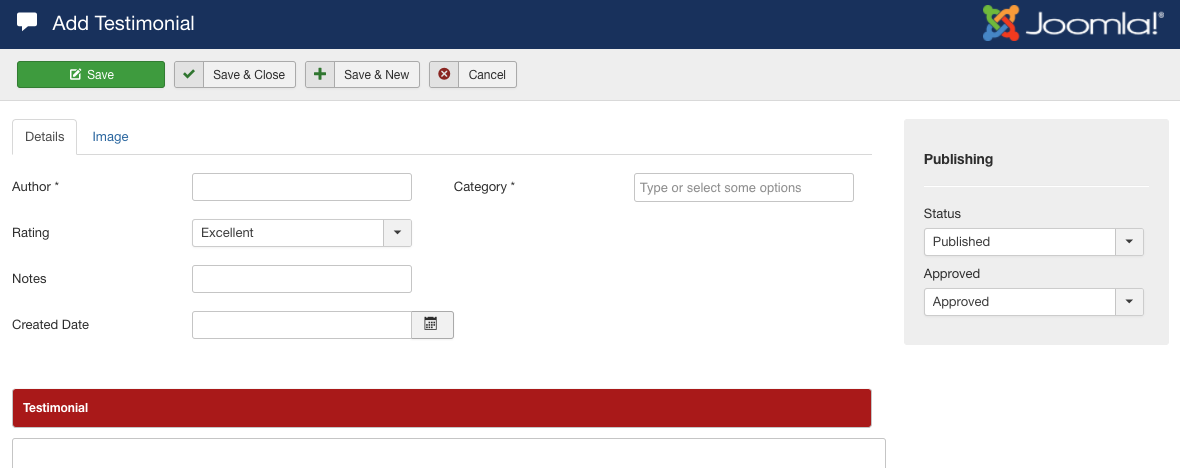
To add an testimonial, click the New button in the upper toolbar of the Testimonials panel (Figure A). You will open the Add Testimonial dialogue (Figure B). The options when adding an testimonial are as follows:
General Testimonial Info
- Author: The author’s name
- Rating: The testimonial rating - this is an optional field that can be enabled/disabled in the Report Card global configuration
- Notes: Any additional note to show below the author line on the front end display
- Created Date: Date the testimonial was submitted/created
- Category: Select the category this testimonial belongs in
- Testimonial: The full testimonial content
Image
If you choose to add an image, click on the ‘Image’ tab and you will have the options to ‘Upload’ a new image which will be re-sized to the dimensions you have specified in your Report Card configuration. If you have already uploaded several images, you can also choose to ‘Select Image’ which will open a modal window to choose an existing image (Figure C).
