
Getting to Report Card Settings
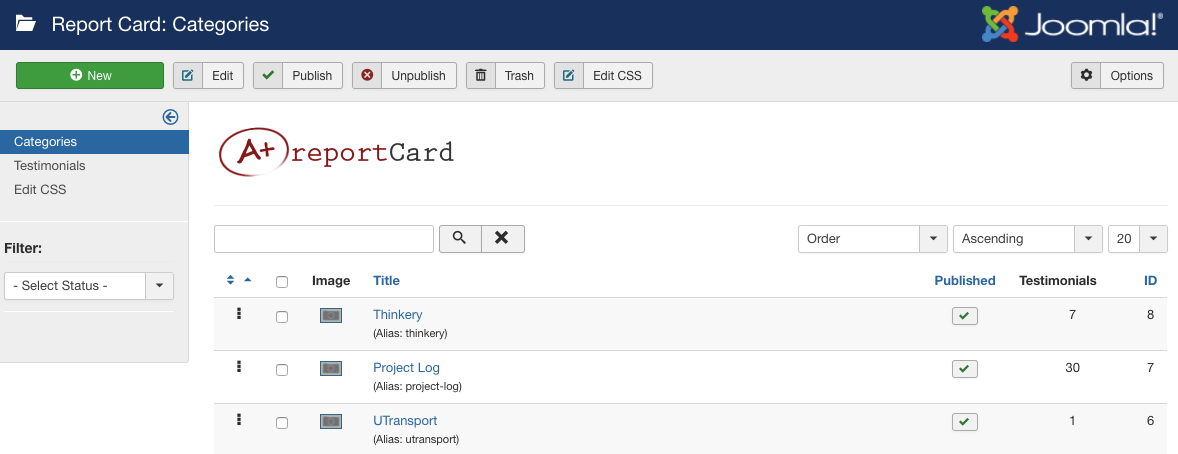
Go to the Report Card admin Categories view (Figure A) by mousing over the Components menu item and clicking Report Card. You will see the ‘Options’ button in the upper right tool bar. Click this button to open the Report Card configuration panel (Figure B).
Adjust Basic Settings
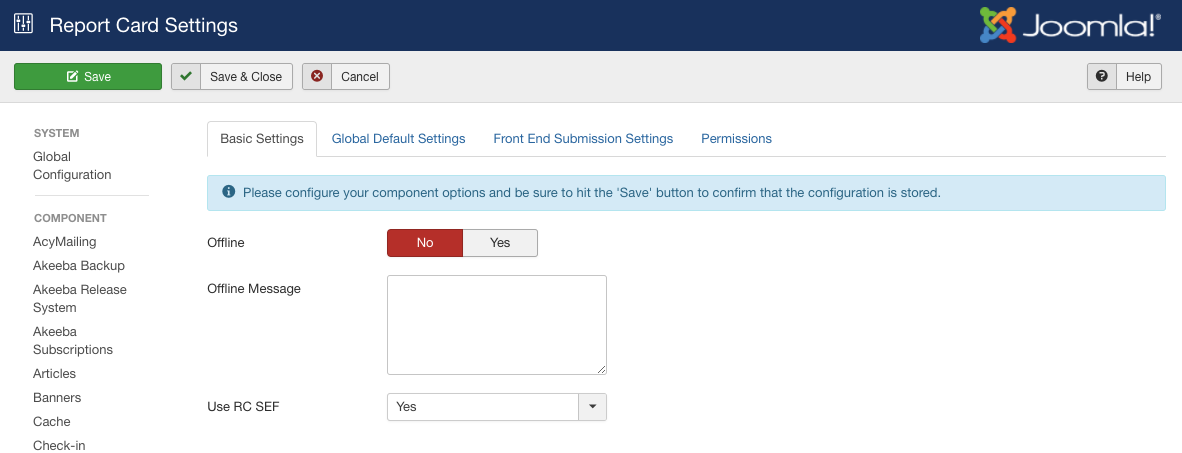
It’s important to save your configuration before adding categories, testimonials, or menu items in Report Card - even if you don’t make any changes from the defaults. This will store the global settings to be used throughout the work flow of adding categories, testimonials, etc.
You can set how many testimonials per-page you would like to show, set your image preferences, and even set your component offline if it’s not quite ready to launch or you are working on it. You may enter html in the intro text area for a nicer display on the front-end.
Each option in the configuration has a tooltip to explain what it does, and if you need more information, please see the Report Card Settings page. Change any settings you would like to change, and if the default values look good, simply click the ‘save’ button and you’re ready to begin!